After my first successful night using the Star Adventurer mount (
detailed here), I wanted to do a more thorough job of learning the ins and outs of the mount and seeing if I could truly take some long exposure images. The first thing I did was to check during the day to see if the polar alignment scope was calibrated to the mount itself. This is done simply by placing a distant object on the cross-hairs of the polar scope and then rotating the mount in right ascension. If the object drifts off the cross-hairs then the polar scope is not centered precisely in the mount housing. To my delight, the polar scope appeared nearly perfectly calibrated! There may have been a very slight drift, yet it was so small I felt that I would not be able to make a meaningful improvement using the set-screw adjustments, and in fact I was not totally sure that I was not causing the apparent drift simply by having to move the mount manually. Yet, sometimes I can obsess (the only enemy of good is better!), so to test this I turned the mount on and set it for 12x sidereal rate and let it track for about 10 minutes. This would represent 180 degrees of rotation if I let it go for an hour, so in 10 minutes I had about 18 degrees of rotation and there was no appreciable drift. This is certainly longer than any exposure I see myself doing in the near term as 18 degrees of apparent motion equates to 72 minutes of real time!
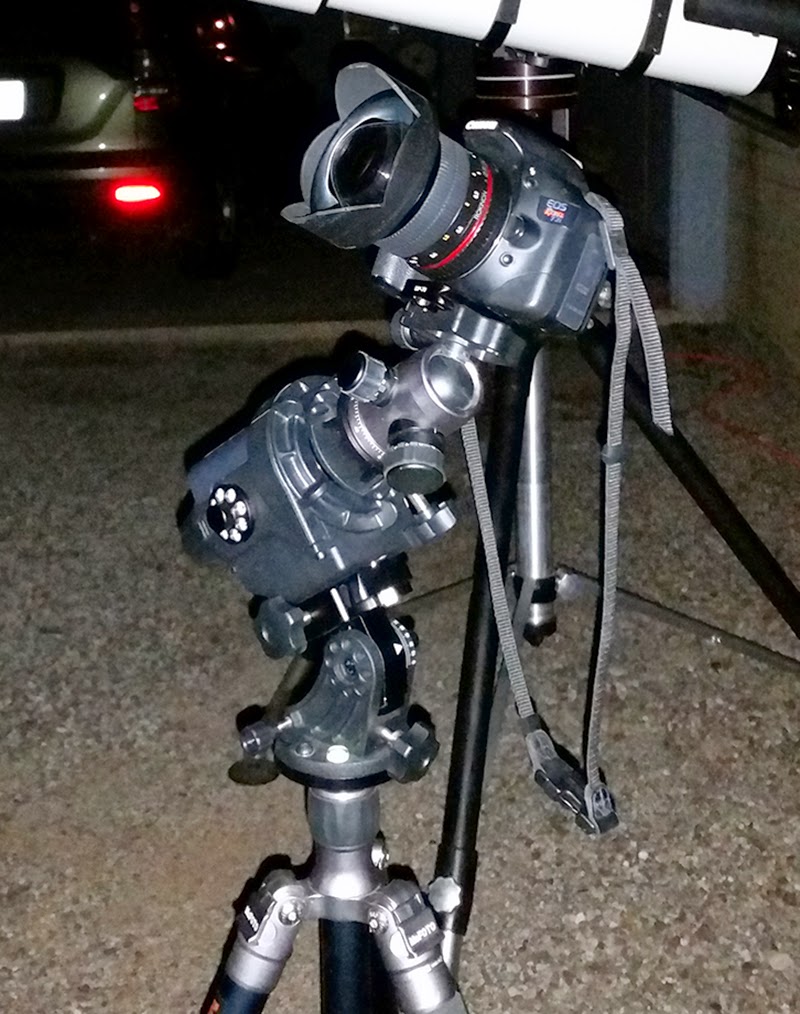
As you can see in the image above at left, I set the mount up in my driveway as I wanted to be able to do some visual observing while the camera was running some tests, and in particular I wanted to observe Comet Lovejoy which was very low in south and not visible from within my observatory until much later in the evening. The downside of this location is that in addition to the moonlight that was pervading everything, I am looking out over our neighborhood (lots of ground level lighting) and there is periodic traffic that comes down the street- hence, one car during an exposure means I need to repeat the test!
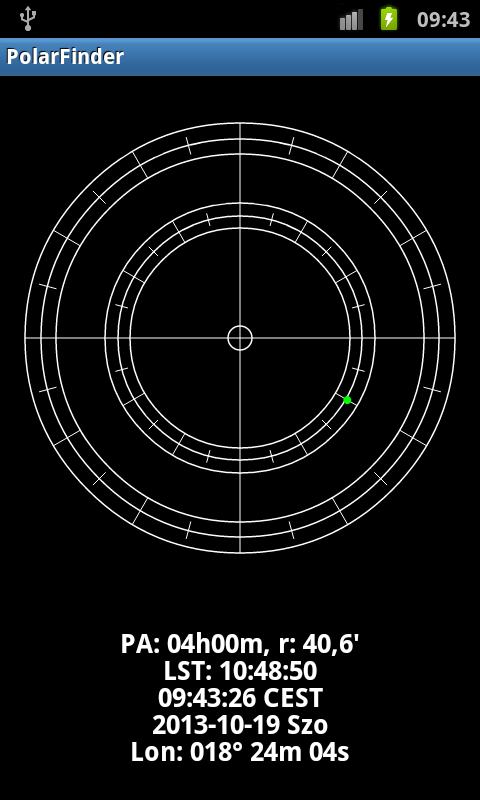
Historically, when I have done a rough polar alignment I have started by pointing about a half degree from Polaris towards the 'bright' star Kochab, as this is approximately the location of the north celestial pole. I wanted to do a fairly precise alignment (short of drifting) and grabbed my phone to look up the location of the pole for the current time...in doing so I wondered if there was an application for my Android that might tell me and sure enough I found a great little application called "
Polar Finder" which uses GPS for my time and location and then with the reticle of my choosing shows me where Polaris should be placed in the polar alignment scope. At right is a generic screenshot from the application which shows a basic reticle (there are patterns for most well known polar scope makers) and Polaris as a green dot.
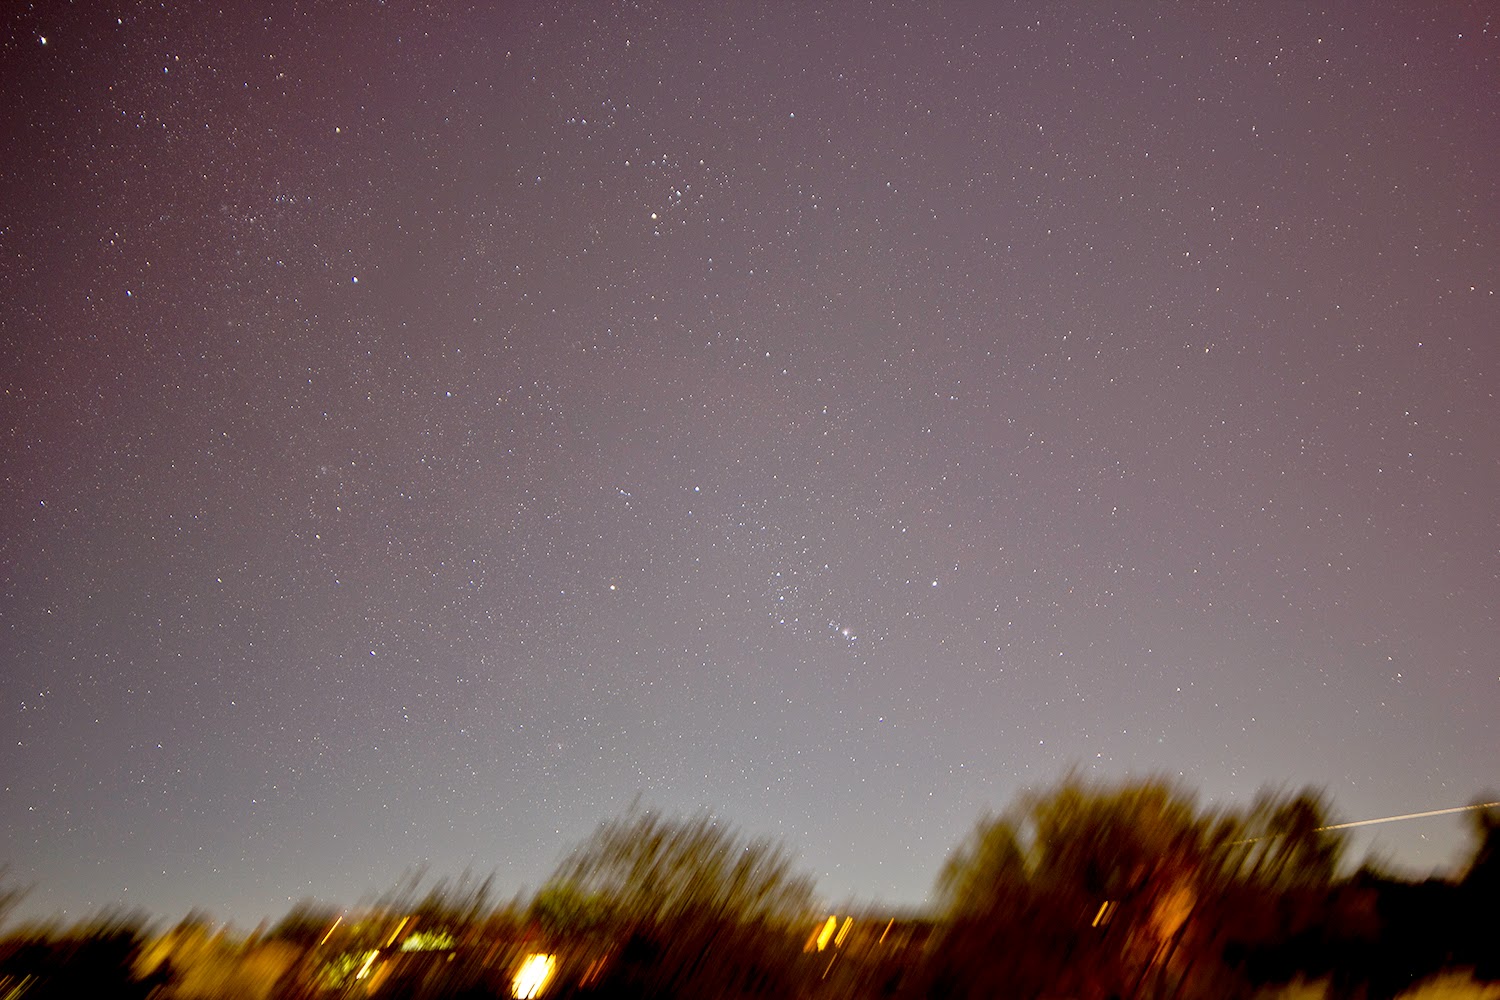
I know, get to the point, right? Well, after polar aligning things I set up the Canon with my 14mm Rokinon f/2.8 and started taking exposures. I did discover that in messing around as much as I was, I had the lens very slightly out of focus. I'll post them below, but keep in mind that I was only checking to see if stars were trailing and not trying to make pretty pictures...Don't make any assumptions about the sky brightness as I did utilize Photoshop to darken the sky background as the moonlight was wickedly bright, and for most (not all) of the images I also set the ISO to 100 to reduce the sensitivity of the sensor in attempt to not get images that looked like daylight. Below are the images with the duration in the captions, but the bottom line is that for DSLR long exposure photography, the mount delivers.
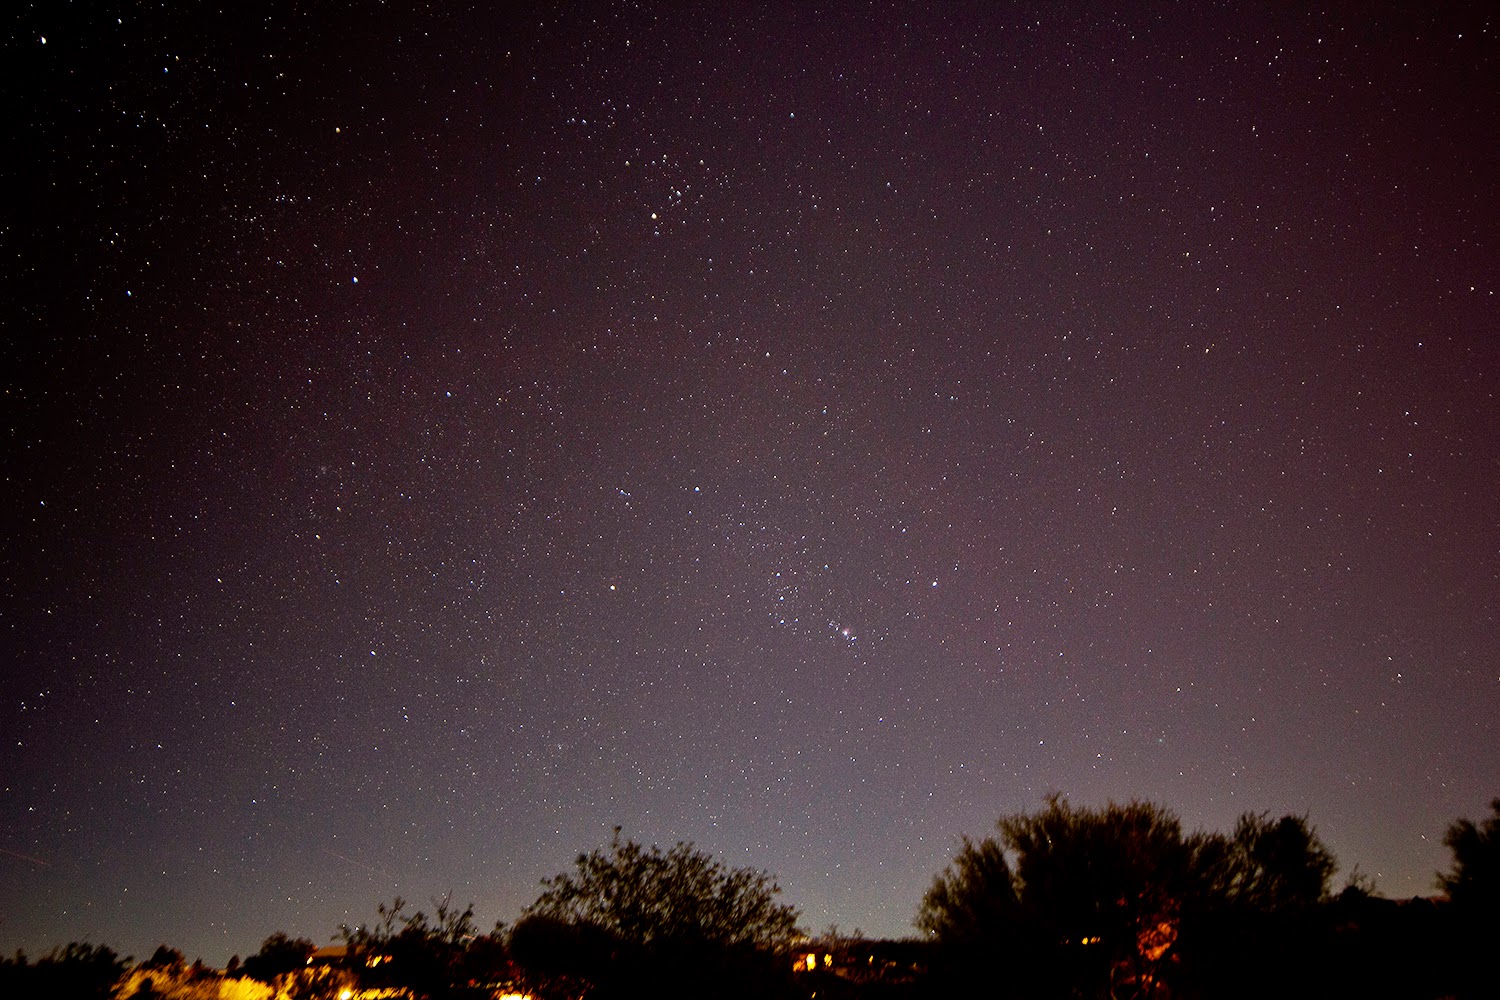 |
| 60 second test |
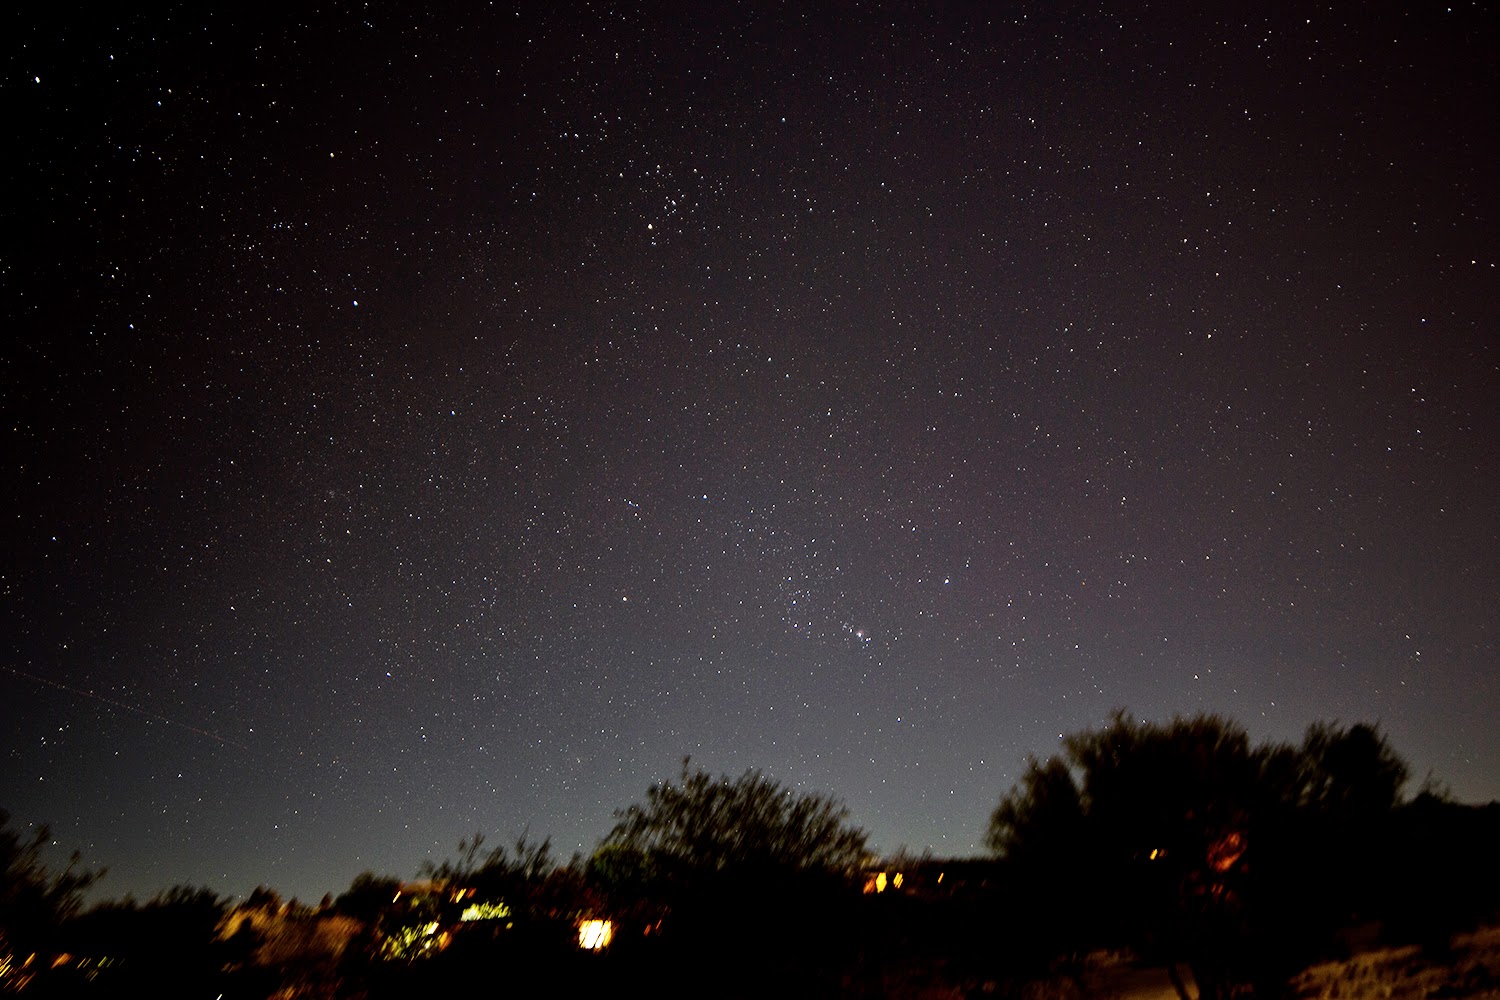 |
| 120 second test |
 |
| 240 second test |
 |
| 360 second test |
Finally, as I mentioned, I was doing some visual observing while the camera was doing its thing and lastly I looked at the moon through my TEC 140. I couldn't resist sticking the camera in there and snapping a shot before heading in. The image below is a single shot, taken at ISO 800 for 1/1000 of a second. Note that this was done on a non-tracking, alt-az mount! Enjoy!

No comments:
Post a Comment